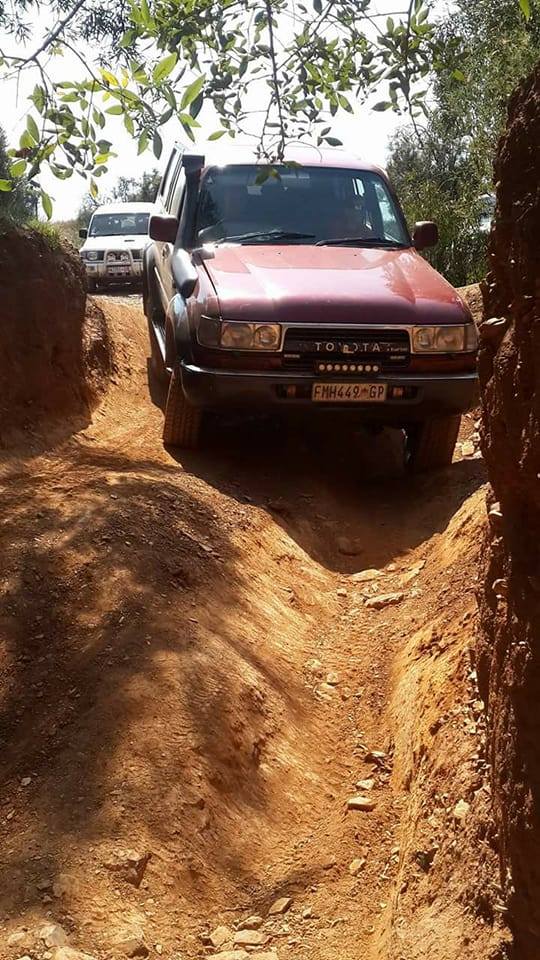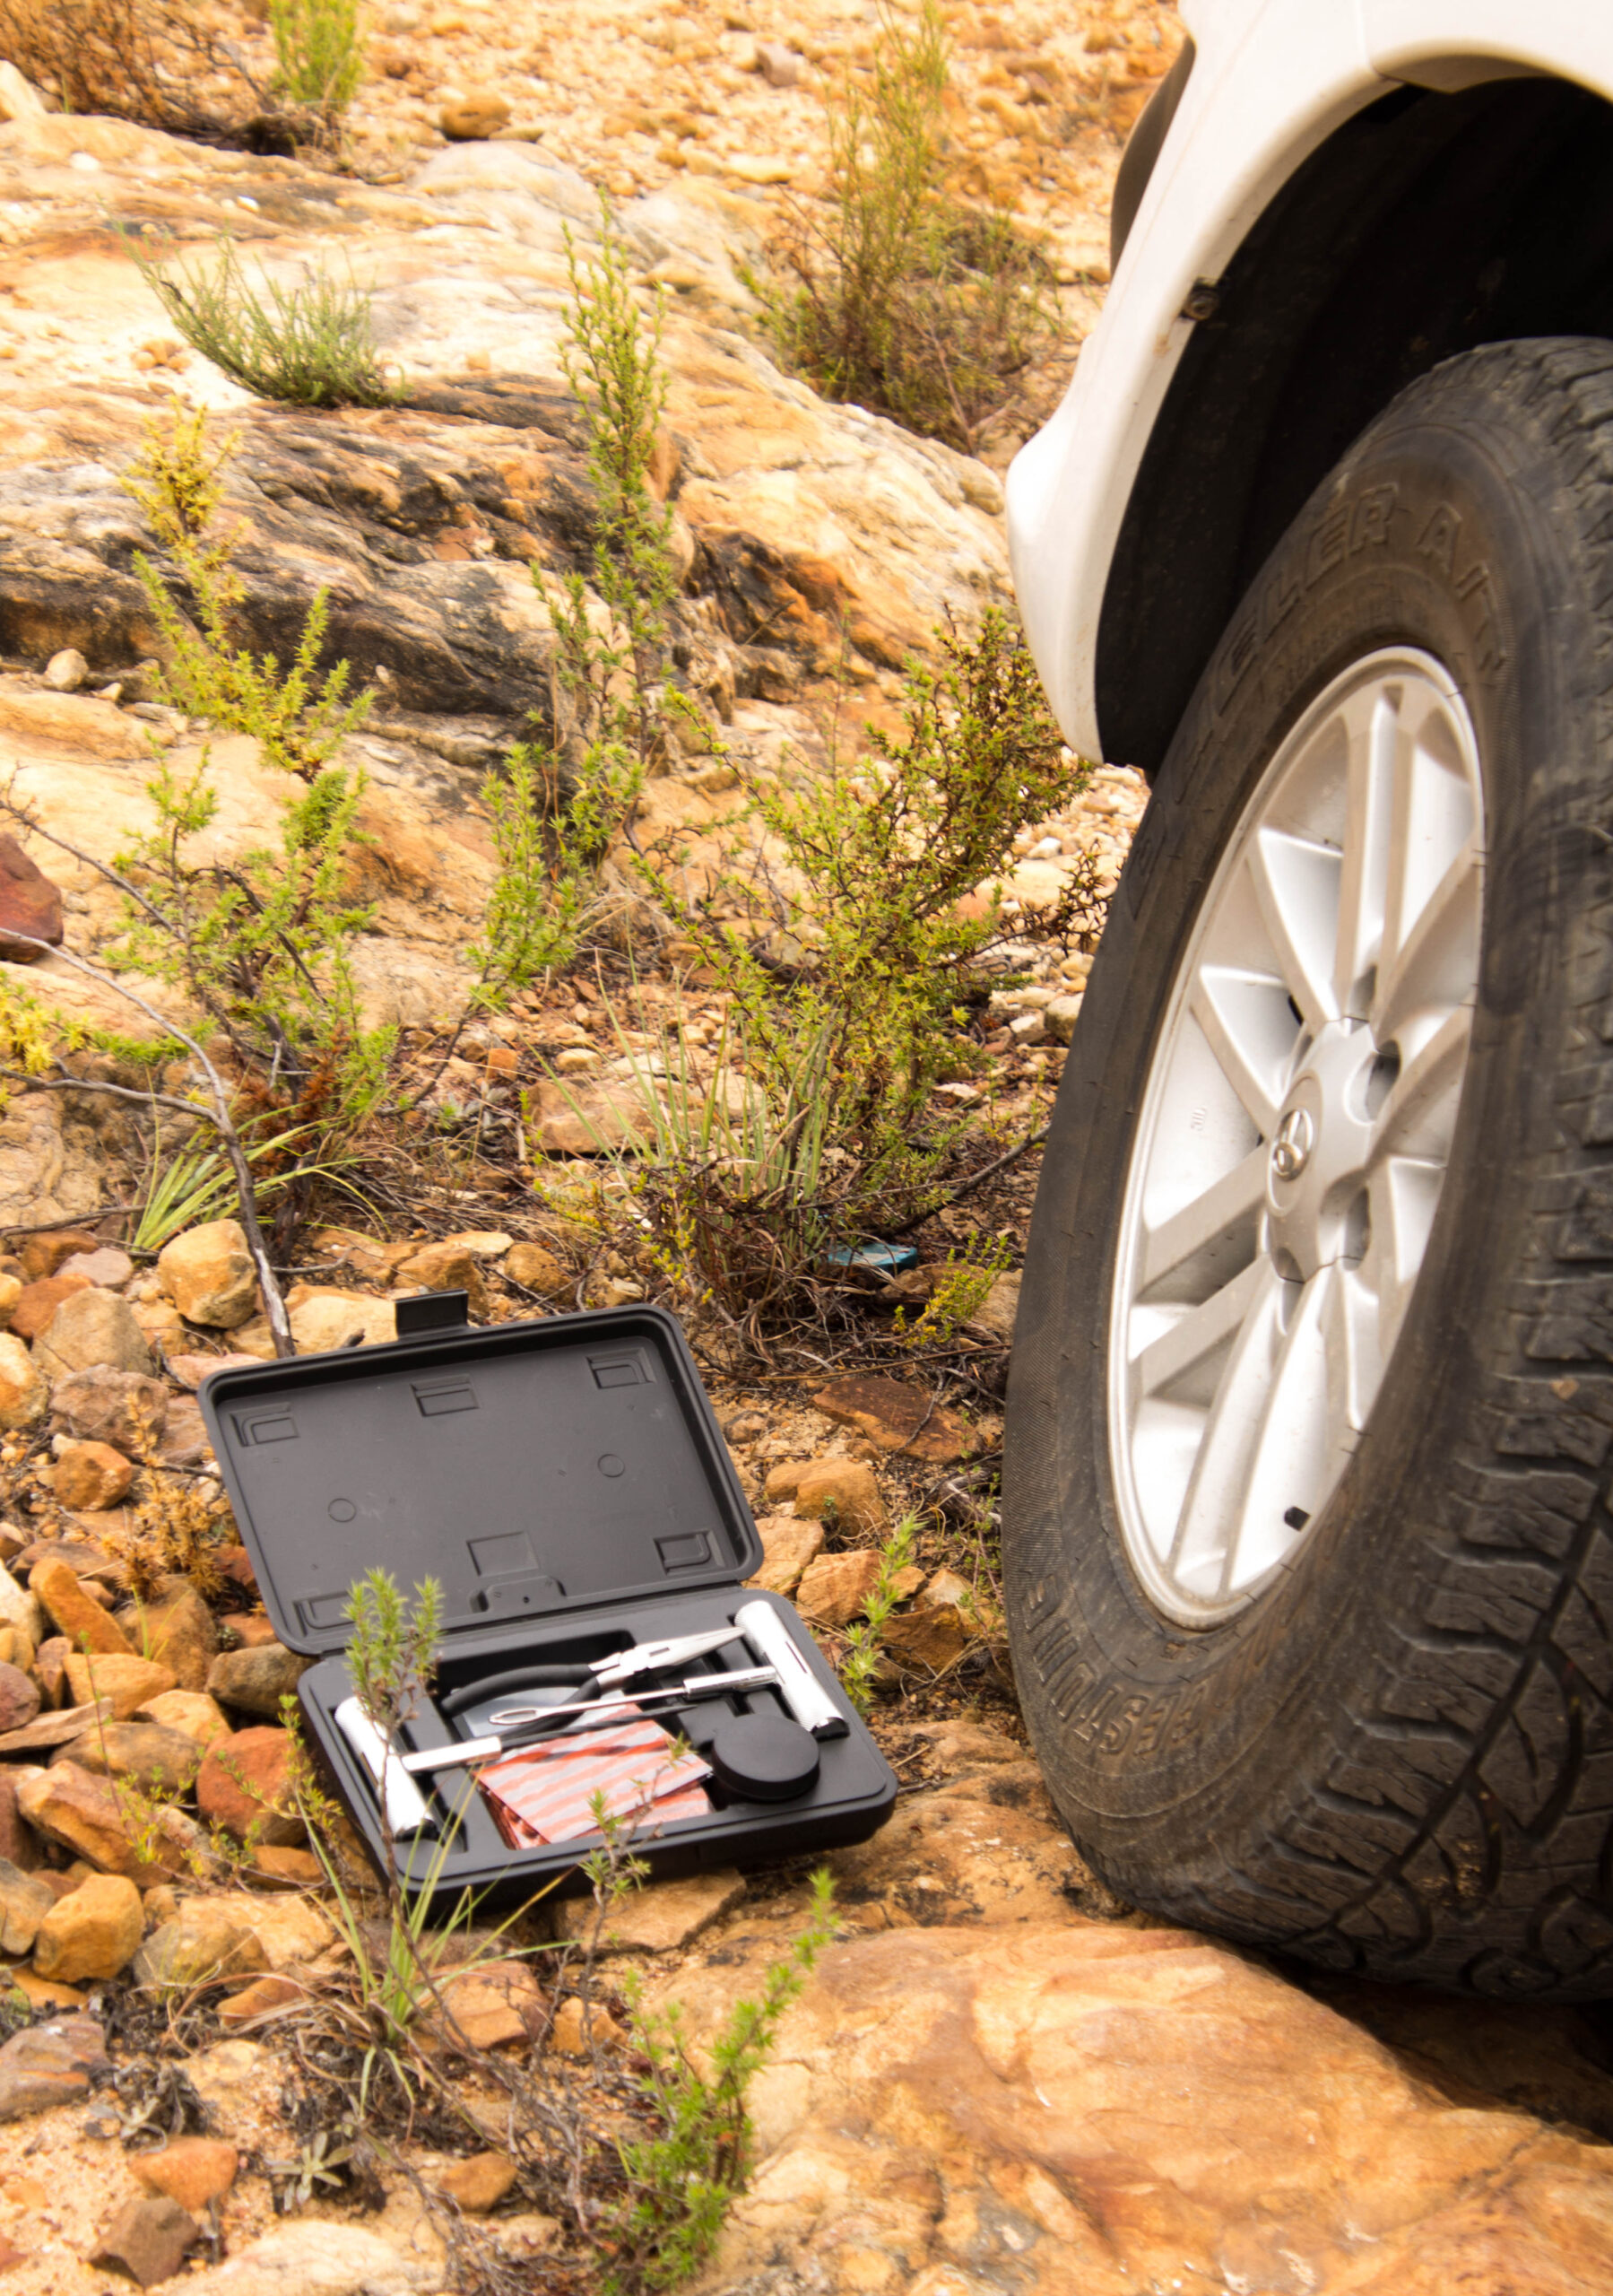
A punctured tyre doesn’t have to ruin your off-road adventure. With the right tyre repair kit and a few simple steps, you can plug the hole and be back on the adventure in no time.
Overland Supply Co. offer a reliable Tyre Repair Kit designed for 4×4 and overlanding vehicles—built tough for the African terrain. Here’s a quick guide on how to use it.
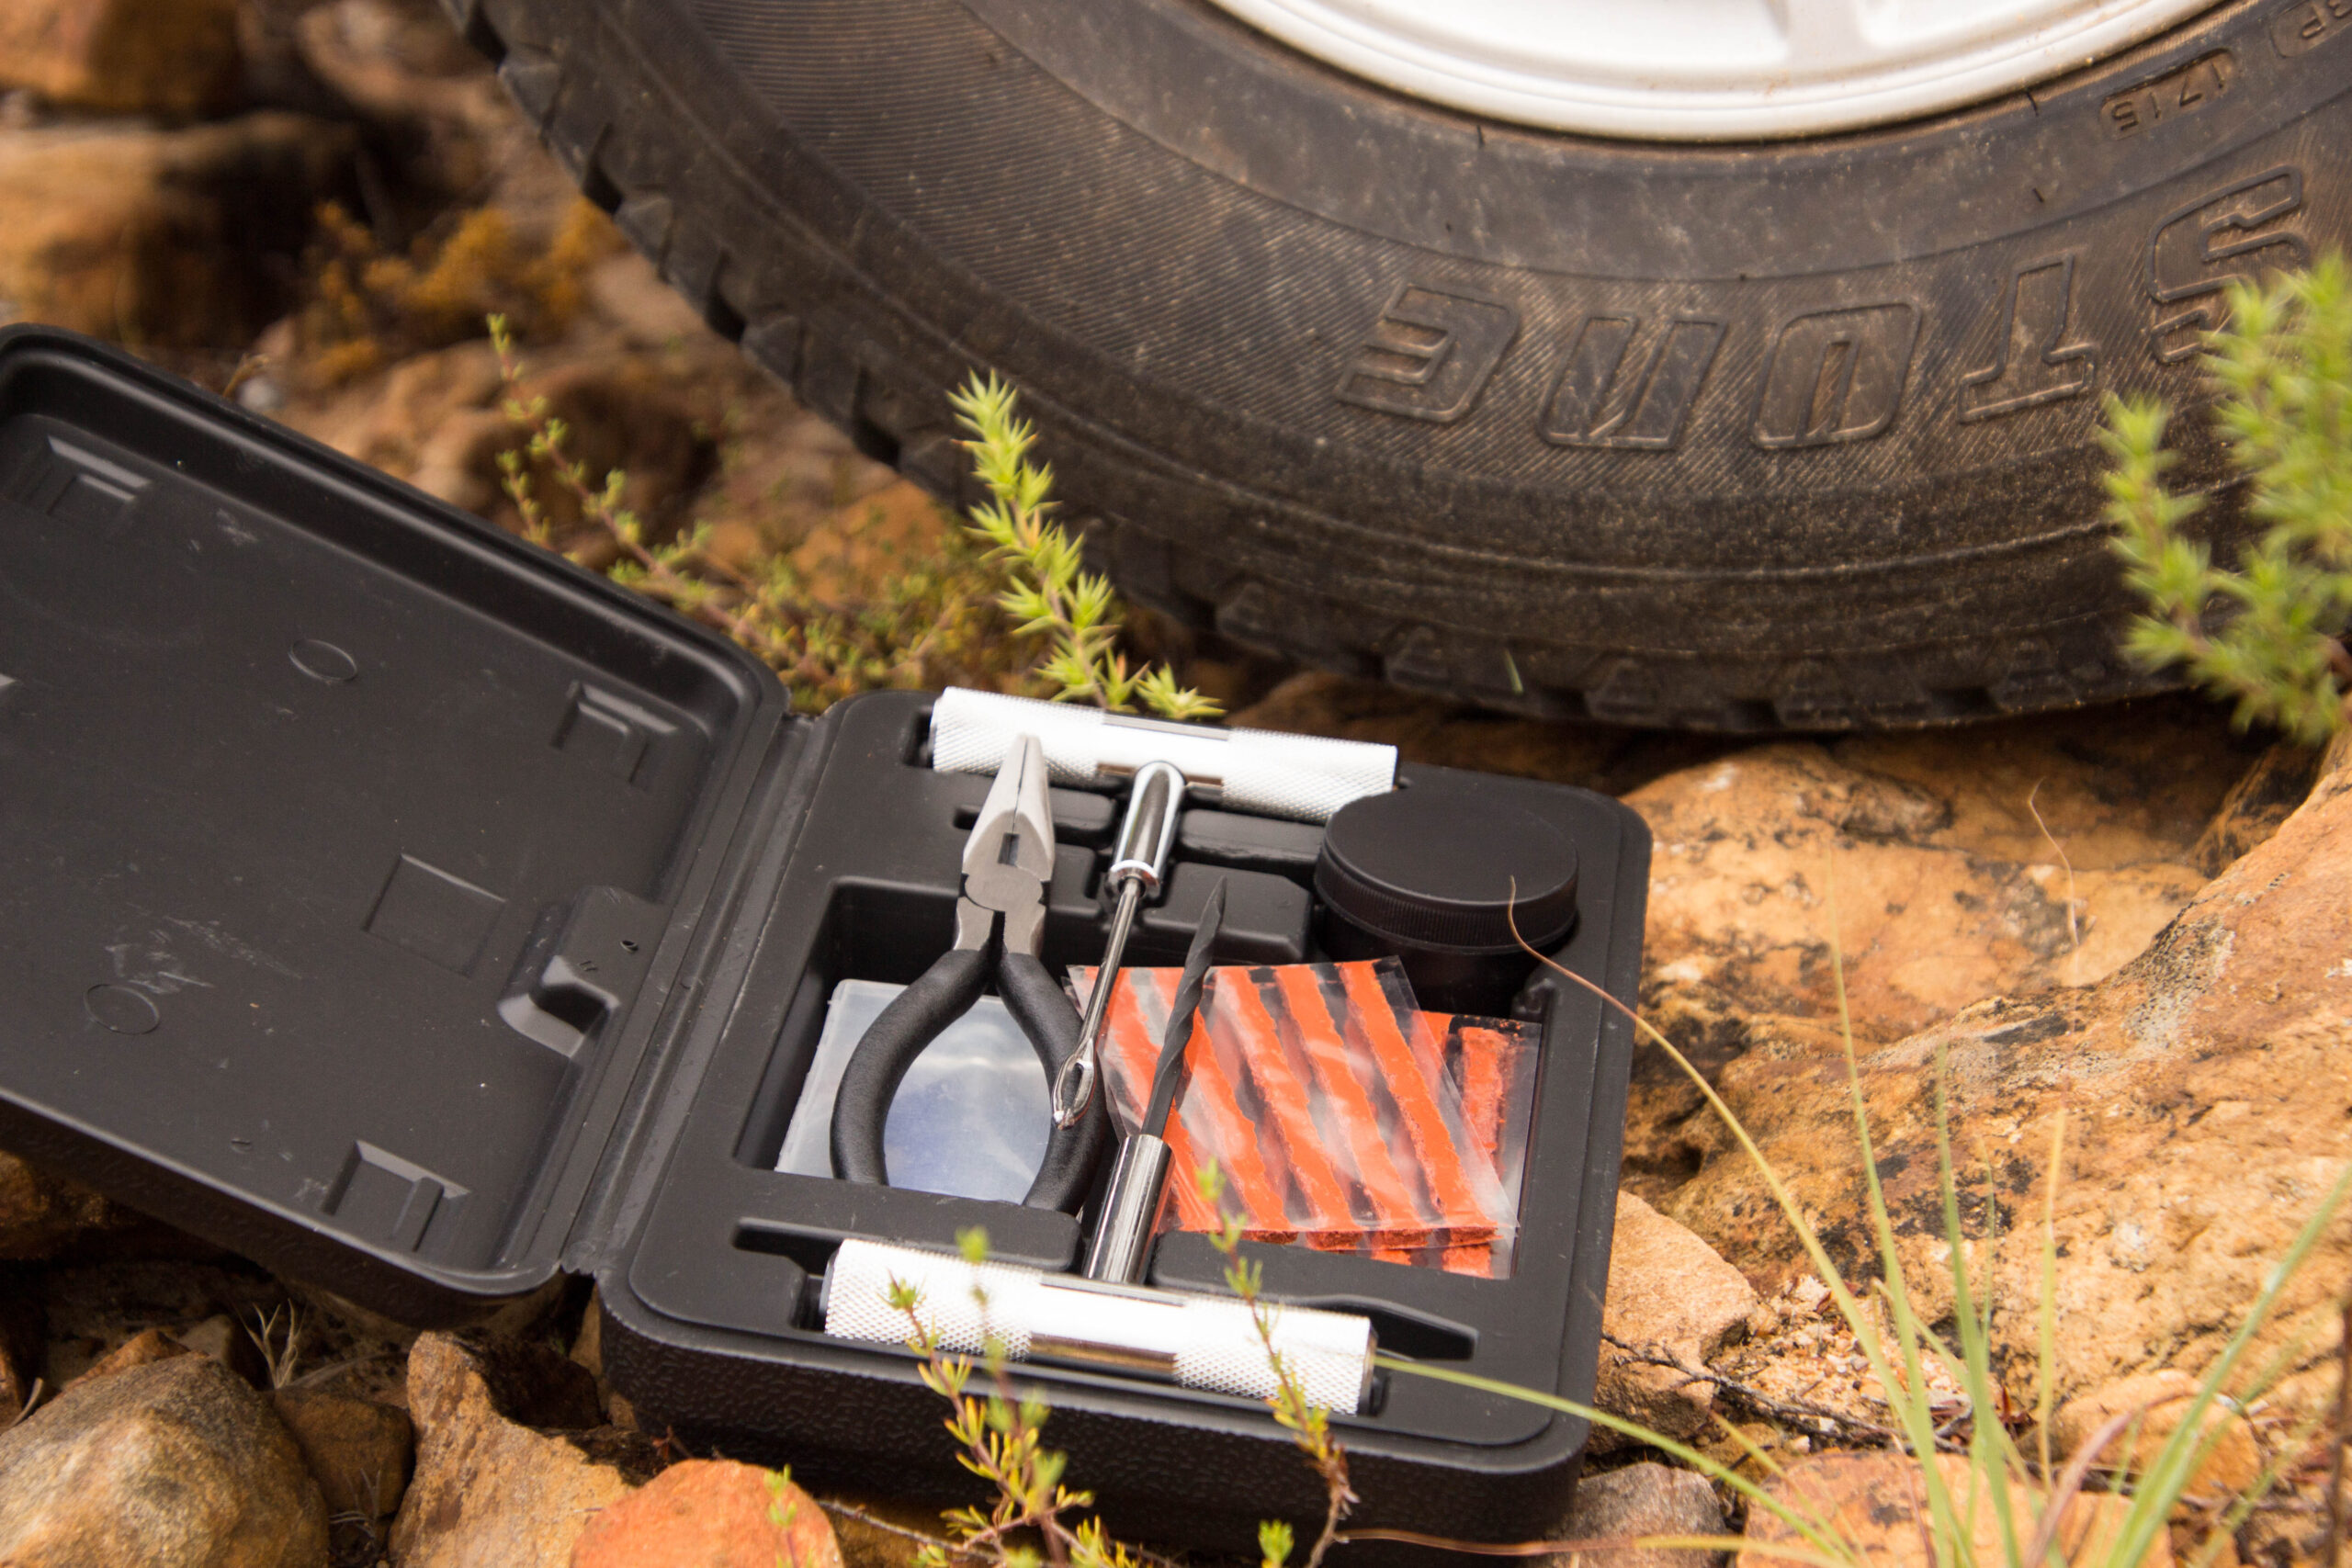
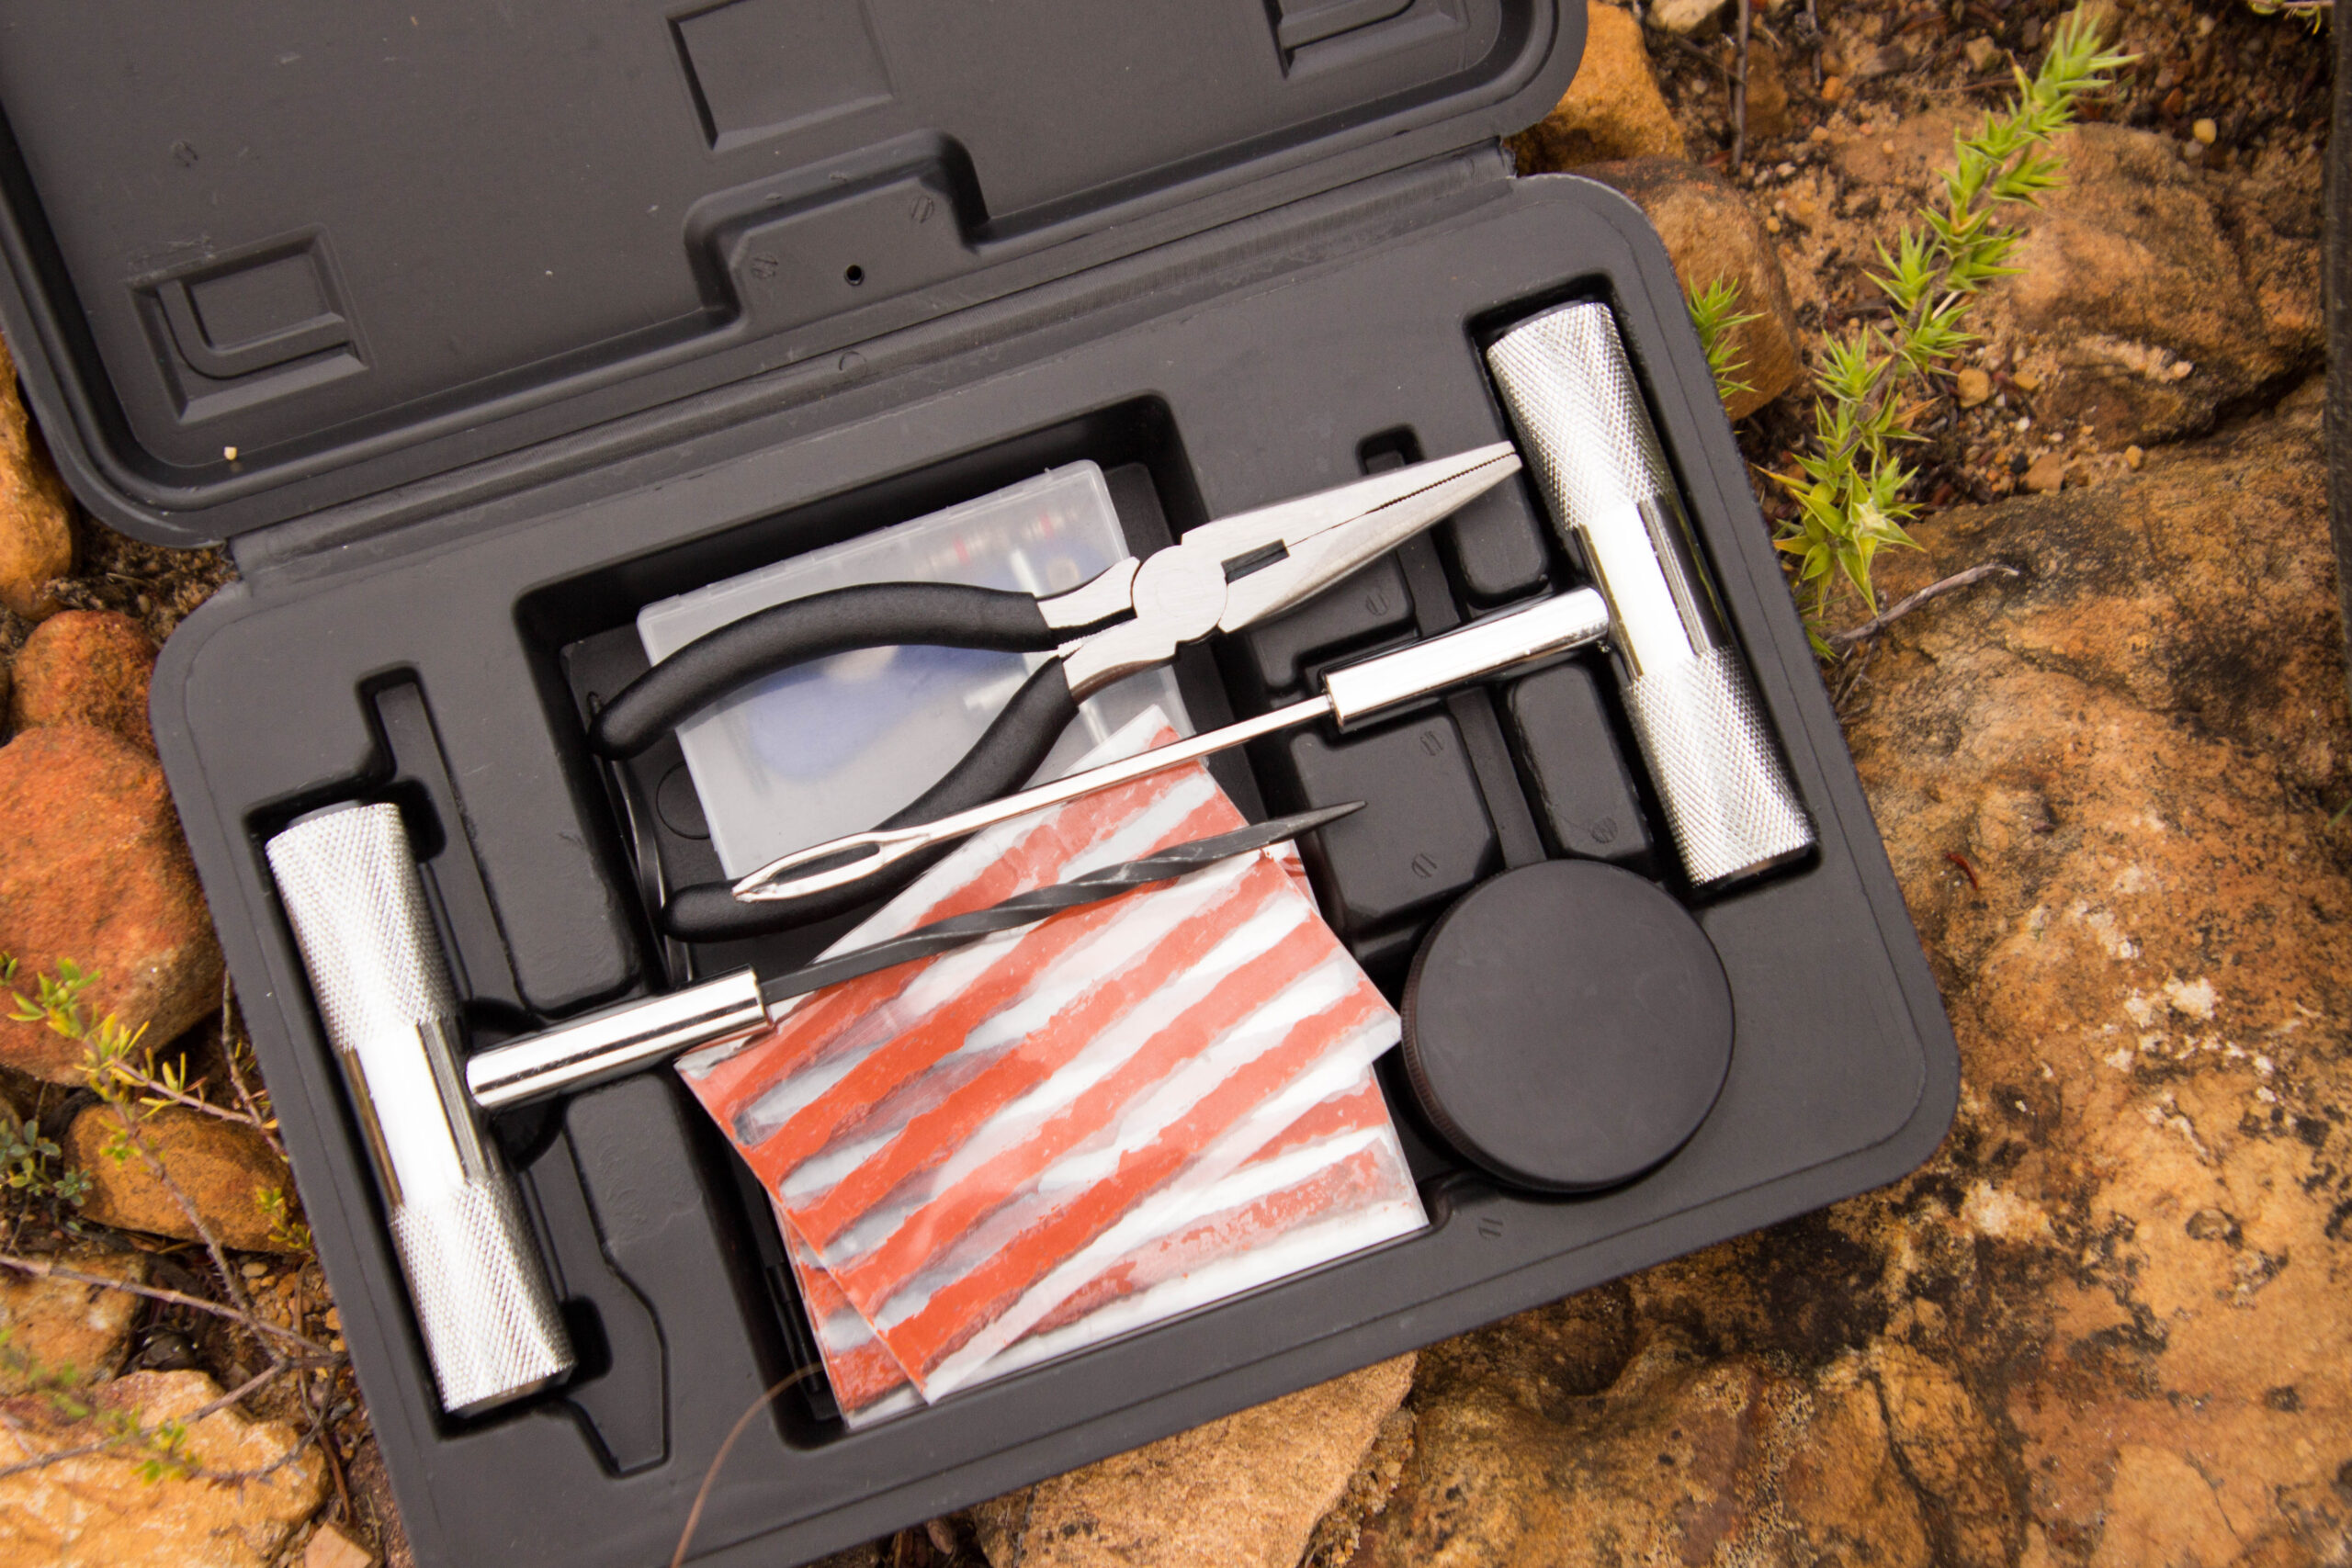
What’s in the Kit
The comprehensive kit includes everything you need to perform a reliable emergency repair out in the wild:
- T-handle reamer tool – for cleaning and widening the puncture (with spare reamer and Allen key)
- T-handle insertion tool – for placing the plug into the tyre
- Rubber repair plugs (bacon strips) – sticky, durable plugs that seal the hole
- Lube – to make plug insertion smoother
- Valve cores – in case yours is damaged or clogged
- Valve stem tool – to remove/replace the valve core
- Razor blade – to trim the plug flush
- Pliers – to extract the puncturing object
This kit is compact, easy to store, and tough enough to handle harsh conditions.
When to Use a Plug
This method works on tubeless tyres and is best for small punctures in the tread area—think screws, nails, or thorns. Sidewall damage, splits, or bead leaks are outside the scope of this repair and require professional attention (or a tyre replacement).
This is also considered a temporary repair, suitable to get you home or to a tyre shop. That said, when done properly, a plug can often last for thousands of kilometres if monitored.
Step-by-Step: How to Plug a Tyre in the Field
1. Locate the puncture
Start by inflating the tyre slightly if it’s completely flat. Listen closely for a hissing sound or pour water over the tyre surface—bubbles will indicate the leak. It’s easiest to do this when the tyre is still on the vehicle, especially if you don’t have a jack.
2. Remove the culprit
Once you’ve found the source of the puncture—usually a nail, screw, or thorn—use the pliers to carefully extract it. Expect a noticeable rush of air as the object is removed.
3. Prepare the hole
Insert the T-handle reamer tool into the puncture. Twist it in and out a few times to clean the hole and slightly enlarge it to the right size for the plug.
This step might take some muscle, especially on a thick 4×4 tyre. Don’t be shy—it’s better to have a clean, even hole than force a plug into a narrow path.
⚠️ Warning: Reaming too aggressively can damage the tyre belts. Three or four solid reams should do.
4. Inflate the tyre
If not already done, inflate the tyre to above your normal driving pressure—this not only helps you see the hole better but also makes plug insertion easier.
🔧 Pro Tip: Higher pressure helps the plug seat properly.
5. Plug it up
Take one rubber plug and thread it halfway through the eye of the insertion tool. Apply lube liberally to the plug and the hole.
Push the insertion tool into the hole until just a small tail of the plug remains outside (around 1–2cm). Then, pull the tool straight out in one smooth, confident motion. The plug should stay behind, tightly sealing the puncture.
6. Trim the excess
Use the razor blade to cut the protruding ends of the plug flush with the tyre surface. This helps prevent it from catching debris or getting pulled out prematurely.
7. Re-inflate and test
Bring the tyre back to your desired pressure. If you have a compressor or portable inflator, now’s the time. Check again for leaks using water. If the plug is holding and there’s no hissing—you’re good to go.
Things to Keep in Mind
- Plugging doesn’t work on sidewalls, bead leaks, or massive gashes.
- This is a temporary fix. Always have the tyre inspected or professionally repaired afterward.
- It’s a good idea to carry a compressor, pressure gauge, and even a spare valve with your kit.
- Plugs are generally safe for high-speed use, but monitor the tyre for pressure loss in the days after repair.
Why Every 4x4 Should Carry a Tyre Repair Kit
Off-roading means self-reliance — and tyre damage is a near certainty if you explore often enough. With one of these kits and a bit of practice, you can save hours of waiting, avoid towing costs, and most importantly, keep your adventure alive.
A quality tyre repair kit built for African overland conditions is one of the cheapest insurances you’ll ever buy. Compact, easy to store, and tough enough to handle harsh conditions — it deserves a permanent spot in your vehicle alongside your compressor and recovery gear.
Ready to take your 4x4 skills further? Join one of our 4x4 training courses and learn hands-on recovery techniques that’ll keep you confident on any terrain.